The past week has seen good progress on the vehicles and artillery, as well as a set building day and promotional event!
In conjunction with The Curzon Cinema in Clevedon and the launch of the new Dad’s Army film, DFVS volunteers welcomed cinema-goers with a display in the lobby, as well as ‘troops’ in uniform and WW2 vehicles outside. Thoroughly enjoyable (despite the weather!) and the film is very much recommended to people of all ages.


Meanwhile, back at the ‘shop…
The Beachmaster Jeep has struggled for a long time with poor/no battery charging and hand starting was often needed. On the ‘Little Lady’ restoration, we installed a rather nifty charge regulator, which comprises new electronics rather than the older mechanical-electrical type. This looks just like the original charge regulator when installed, you wouldn’t know it was there.
We recently acquired another of these magic boxes and Rich set to with fitting it. Prior to the Jeep’s trip out on Saturday a top up of transmission fluid was needed. That’s Harry lying under the jeep in the rain!


The 4.5″ gun has seen a bit of resurgence in attention recently. This week, Paul went down the yard in the direction of the ‘spare’ gun carriage, armed with some heavy tools. He returned with a grin and some rather nice phosphur bronze bushes! Once cleaned up, they looked brand new.
The next task with the elevation gear was the bore out the holes made last week (as this casting has not been fitted before). The pillar drill and some big drill bits made short work of this.


The saddle has now been traversed… with the aid of a 10 ton jack! Decades of debris had collected and prevented it from moving, but we can now at least access the area under the saddle to clean it up. The kingpin still presents a bit of a head scratcher. Looks like there is a locking ring on there but no matter how much we try to persuade it, it does not want to shift at all


More work on the QL Tipper’s braking system. Rich showed Mark and I how to use his brake flaring kit, brilliantly simple and a vintage item in itself! The solid brake lines are now nearly all fitted. Mark is shown here modelling the new front to back line alongside the old one. Rich and Jon have slapped a protective layer of paint on the dash panel so that can be refitted soon.


Over the weekend we also held our first set building session of the year. As it was cold and wet outside we kept it simple (and indoors) by setting up a ‘rubble production line’. This was something of an experiment, not previously attempted by us, but the results were good.
A while back, I was part of a team that made giant model dinosaur, seen here (familiar looking land rover at 3:10):
After building this, we had a large amount of polystyrene left over, which I thought might make a good base for rubble from a bombed-out building. With some advice from Matthew (chief dinosaur builder) we put together a kit.

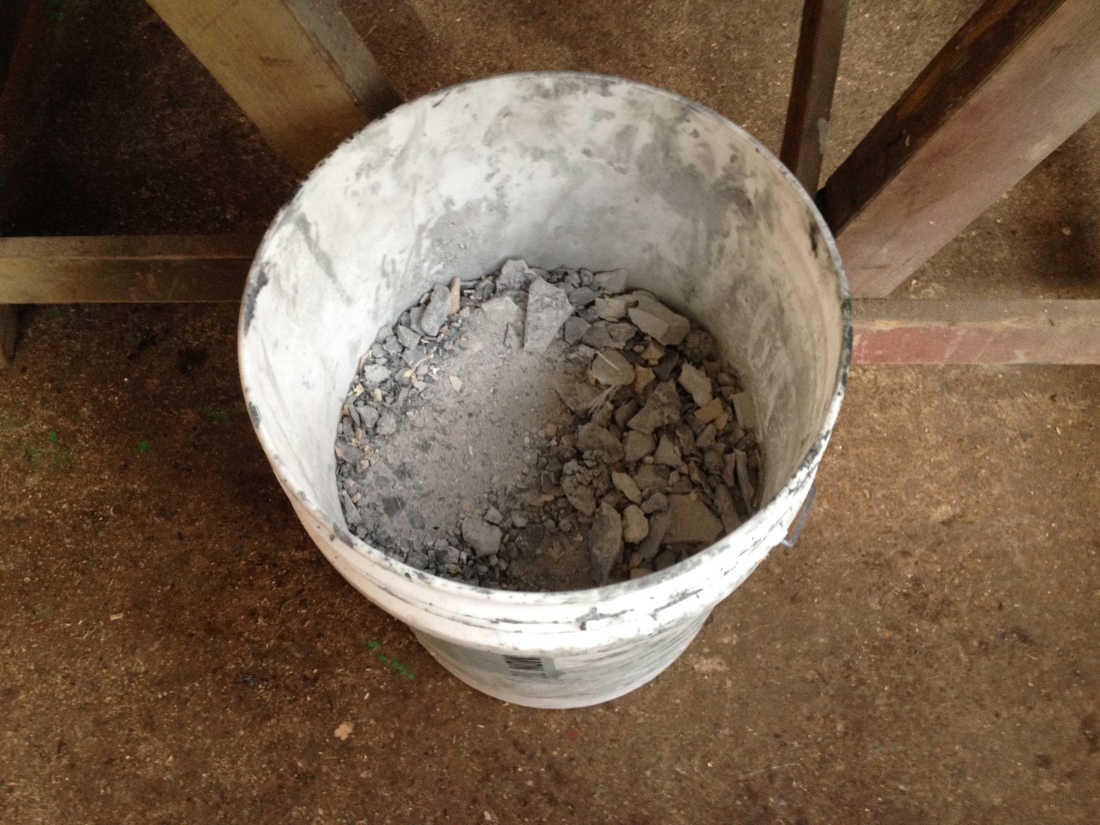
That’s grey emulsion, latex, lots of polystyrene, and tea. The big bucket on the floor holds lots of chippings of Jesmonite, which is what formed the hard outer surface of the dinosaur. In powder/sanded form it looks a lot like cement.
Step 1 is to mix the paint and latex together in a roughly 60/40 mix. Then, put some gloves on and dip the polystyrene in the mix, making sure to cover all sides.

Next, roll the poly chunks in the jesmonite chips, trying to get as much coverage as possible. Leave out to dry.

With the right production line…..

You can make quite a lot!

Plenty of polystyrene left over afterwards. Feels good to be recycling it rather than throwing it out!

You do go through a lot of emulsion in the process, but the results should hopefully be good. Just need to make sure they don’t blow away on the field, though!
If you are in the Bristol/Somerset area and would like to lend a hand with set building, please send me an email at corwin@digforvictoryshow.com
